Testing out minimal distros to run my hypervisor. Debian is fine and light enough, but the server doesn’t come for at least another day, so I’ve got time. I’ve been hearing about Arch for ever and I haven’t really looked into it, but it sounds exactly like what I’m looking for.
Arch boots into live cli environment, and then you have to manually partition the disk to start.
So, how do I want to do this?
Update the first partition must be the efi partition, and it cannot be in LVM, so do that first
fdisk /dev/sda
# g to create GPT table, n to make new, t to change type, and w to write
g
n
+1G
t
uefi
# make LVM partition
n

w
# boot partition is FAT32 - efi mandates as a standard
mkfs.fat -F 32 /dev/sda1
mkfs.fat -F 32 /dev/rootVG/bootLV

# swap
mkswap /dev/rootVG/swapLV

# the rest
mkfs.ext4 /dev/rootVG/rootLV
mount shit under /mnt. This better get less do-it-yourself real soon or I’m going back to debian. But, if I can slap these in a script I’ll be fine.
# mount root filesystem
mount /dev/rootVG/rootLV /mnt

# make all those mf mount points you just had to have
mount --mkdir /dev/rootVG/bootLV /mnt/boot
mount --mkdir /dev/rootVG/varLV /mnt/var
      and so on...

# enable swap
swapon /dev/rootVG/swapLV
Package list:
base linux linux-firmware vim efibootmgr grub intel-ucode networkmanager dosfstools exfatprogs e2fsprogs ntfs-3g lvm2 sshd sudo
pacstrap -K /mnt base linux linux-firmware
fstab
# Generate an fstab file (use -U or -L for UUID or labels)
genfstab -L /mnt >> /mnt/etc/fstab
chroot to new install
# fancy smancy arch version of chroot
arch-chroot /mnt
set a bunch of shit you normally never have to…
# time zone
ln -sf /usr/share/zoneinfo/America/Chicago /etc/localtime

# hw clock
hwclock --systohc

# Edit /etc/locale.gen and uncomment en_US.UTF-8 UTF-8
# fuck, install vim with 'pacman -S vim' if you forget it
locale-gen

# Create the locale.conf(5) file, and set the LANG variable accordingly
echo LANG=en_US.UTF-8 >> /etc/locale.conf

echo archkvm >> /etc/hostname
# because we are using LVM we need to create a new initramfs.  Also needed for encryption and RAID.
# edit /etc/mkinitcpio.conf
# remove udev and replace with systemd
# insert vlm2 between block and filesystems
HOOKS=(base systemd ... block lvm2 filesystems)

# rebuild image
mkinitcpio -P

# install lvm2 and rebuild again because it gave you an error about exactly that
pacman -S lvm2
mkinitcpio -P
root password
passwd
install bootloader – I’m doing grub for now, but I may either put the /boot partition outside of LVM and load directly from UEFI.
# install grub and efibootmgr (if you haven't already)
pacman -S grub efibootmgr

# mount efi partition
mount --mkdir /dev/sda1 /boot/efi

# install grub
grub-install --target=x86_64-efi --efi-directory=/boot/efi --bootloader-id=GRUB

# make grub config
grub-mkconfig -o /boot/grub/grub.cfg
NOTE: it is here where you realize the efi partition can NOT be on an LVM partition, even though GRUB is fine with /boot being there. Starting over and updating notes. fml
cross fingers and reboot
# exit chroot
exit

umount -R /mnt

reboot
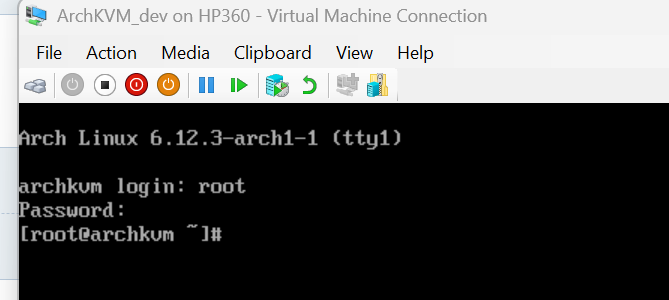
Aaaaannnd voila!!!
The most basic-bitch linux distro I’ve ever seen. Well, except for LFS, and I guess Gentoo was possibly worse because you had to wait five hours of compiling to realize you fucked up. But this is what I wanted. A Hypervisor should be very minimal.
I finally got a Pi after hearing my cousin talk about it a few times over the past few days. I so far am amazed at the performance to price ratio. Below are benchmark results for it and the thecweb.com server(which is quite old really). For ~$125 it is a steal.
Benchmark
thcweb.com
pi5
CPU events per second
1062.19
2730.24
Memory MiB/sec
6025.36
3649.76
File IO read MiB/sec
19.10
9.46
File IO write MiB/sec
12.73
6.31
So, the pi5 appears to be much faster than the Intel Core i5-4570T running thecweb.com. But, not surprisingly the pi5 can’t compete with the memory and file io.
Since it has 8 GB of RAM and CPU to spare, I installed all the recommended software when I copied the OS to the SD card. It comes with some lightweight window manager I don’t recognize and a few useful tools for updating the Pi and what not. Debian based to nothing new for me there. I moved the webcam over to it from thecweb.com and installed Motion. It seems to work fine.
So far I really haven’t had much fun setting it up. Too easy. But, I’m sure I’ll be tearing my hair out once I get to the electrical side of things. It has been over 20 years since my time a Devry. And I was a real shitty student.
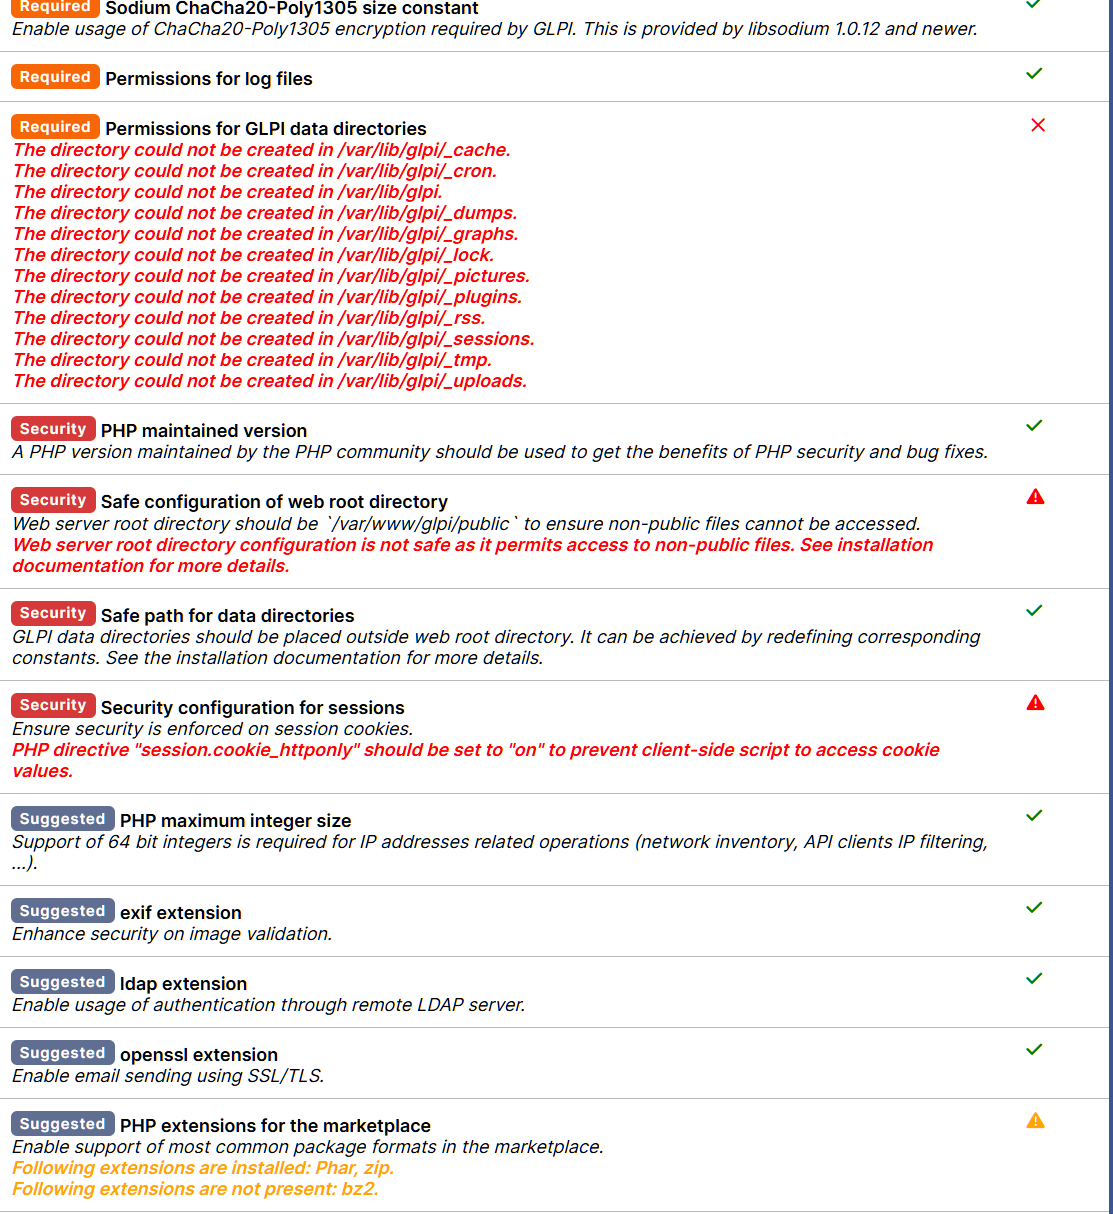
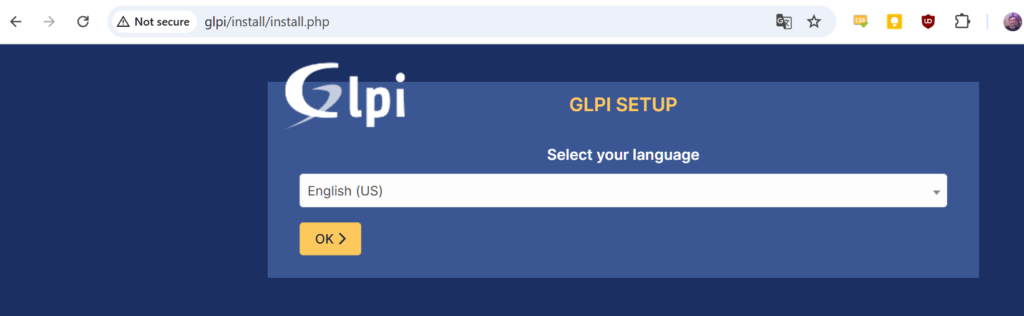
After installation I loaded up the URL, set the language and ran environment checks. Now I have to go through the output and make sure I’m cool with the warnings and such. I’m guessing I need to fix the permissions issue first, lol.
sudo chown www-data:www-data -R glpi for the permissions. The rest don’t look that serious since I don’t have the thing accessible from the web, but I may revisit.
DB
Next step is the DB config. I could just feed it the root password to my mysql server, but I’m going to create a user just for this DB.
mysql> CREATE USER 'glpi_db'@'localhost' IDENTIFIED BY '********';
mysql> GRANT CREATE, ALTER, DROP, INSERT, UPDATE, DELETE,  SELECT, REFERENCES, RELOAD on *.* TO 'glpi_db'@'localhost' WITH GRANT OPTION;
mysql> FLUSH PRIVILEGES;
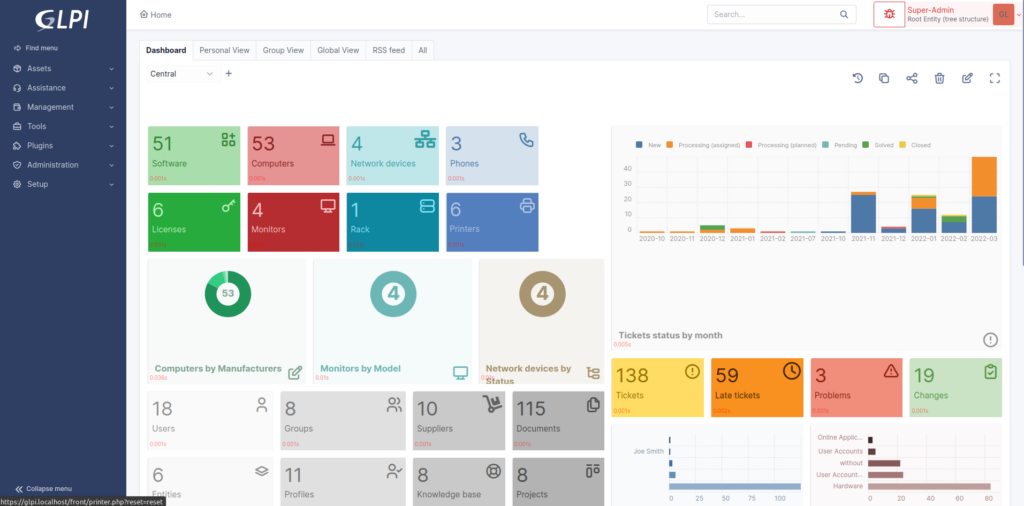
I don’t often get to do the rest with a GUI!
It created the DB without error. A couple other generic questions and a sales pitch and we’re done.
App config
After signing in we get this nice little message so I gotta change some passwords to get rid of all that red.
I have a couple fairly complicated and hopefully long-term projects I’d like to do, and things are much easier to work on if I have a good way to store information about various components and incidents, so I’m going to see how hard it is to roll my own install of GLPI(Gestionnaire Libre de Parc Informatique, or “Free IT Equipment Manager”).
Installation
Downloaded this. Moved extracted folder to /var/www.
Create directories for configs, data, and logs.
GLPI_CONFIG_DIR: set path to the configuration directory;
/etc/glpi
GLPI requires read rights on this directory to work; and write rights during the installation process.
copy the contents of the config directory to this place.
GLPI_VAR_DIR : set path to the files directory;
/var/lib/glpi
GLPI requires read and write rights on this directory.
copy the contents of the files directory to this place.
GLPI_LOG_DIR : set path to logs files.
/var/log/glpi
GLPI requires read and write access on this directory.
Create a inc/downstream.php file into GLPI directory with the following contents:
Add info Apache virtual server. I’ll lock it down to my local network, so this won’t be accessible from the internet for now. Added to /etc/apache2/sites-enabled/glpi.conf.
<VirtualHost *:80>
        ServerName glpi

        ServerAdmin webmaster@localhost
        DocumentRoot /var/www/glpi/public

        ErrorLog ${APACHE_LOG_DIR}/glpi-error.log
        CustomLog ${APACHE_LOG_DIR}/glpi-access.log combined

    # If you want to place GLPI in a subfolder of your site (e.g. your virtual host is serving multiple applications),
    # you can use an Alias directive. If you do this, the DocumentRoot directive MUST NOT target the GLPI directory itself.
    # Alias "/glpi" "/var/www/glpi/public"

    <Directory /var/www/glpi/public>
        Require all granted

        RewriteEngine On

        # Ensure authorization headers are passed to PHP.
        # Some Apache configurations may filter them and break usage of API, CalDAV, ...
        RewriteCond %{HTTP:Authorization} ^(.+)$
        RewriteRule .* - [E=HTTP_AUTHORIZATION:%{HTTP:Authorization}]

        # Redirect all requests to GLPI router, unless file exists.
        RewriteCond %{REQUEST_FILENAME} !-f
        RewriteRule ^(.*)$ index.php [QSA,L]
    </Directory>


</VirtualHost>
I of course had to add an entry for glpi in the hosts file on my laptop for this to work.